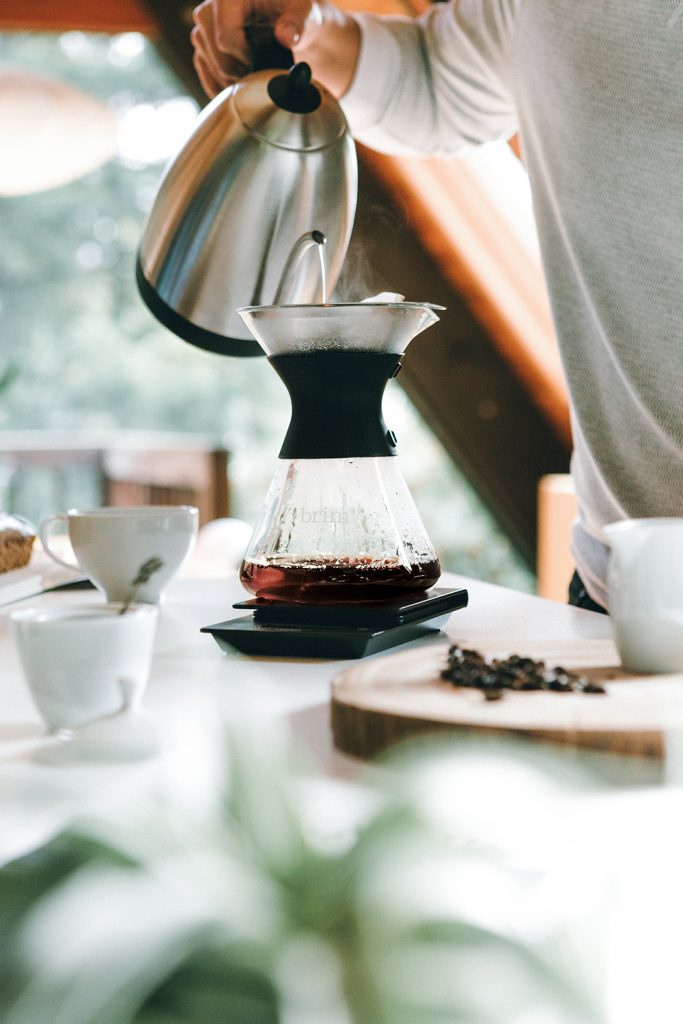
If you’ve been to a third-wave coffee shop, you’ve probably seen the baristas elegantly waving gooseneck kettles over their brewers and may have wondered how they learned their technique. The truth is, it’s easier than you think.
I learned how to do pour overs almost 5 years ago. It was really the first time I ever experienced a coffee that I could truly describe as sparkling. It wasn’t just sweet or fruity, it was tangy, like lemonade, but with a playfulness that moved throughout the sections on my tongue – I was completely mesmerized (and still am today!).
I believe anyone can experience the wonder of making pour overs, as long as they’re properly equipped. As a pour over beginner, you’ll need a reliable set of tools. The Brim Pour Over Coffee Kit has everything you need for a perfect cup of pour over, with a modern twist on a classic design to boot. The carafe is made with borosilicate glass, not only for aesthetic appeal, but also because it’s easy to clean, doesn’t transfer any odd flavors and offers superior heat resistance. The rubber jacket handle provides comfort while pouring and is removable for easy cleaning. The kit also includes a 20-pack of paper filters along with a laser-etched permanent filter designed to allow for the optimal water to coffee ratio (which is key for good extraction).
The Brim Pour Over Coffee Kit provides the perfect excuse to opt for the higher-end options from your local coffee roaster. Why? The Brim carafe yields a clean, crisp coffee, and the unique flavors are highlighted with the pour over technique. Much like the cathartic feeling of cooking a nice meal, it takes time, but the process is totally worth the wait.
I’ve broken down each step of the pour over technique below. Enjoy discovering how each of your movements influence the coffee’s taste.
Pour Over 101

Set Up:
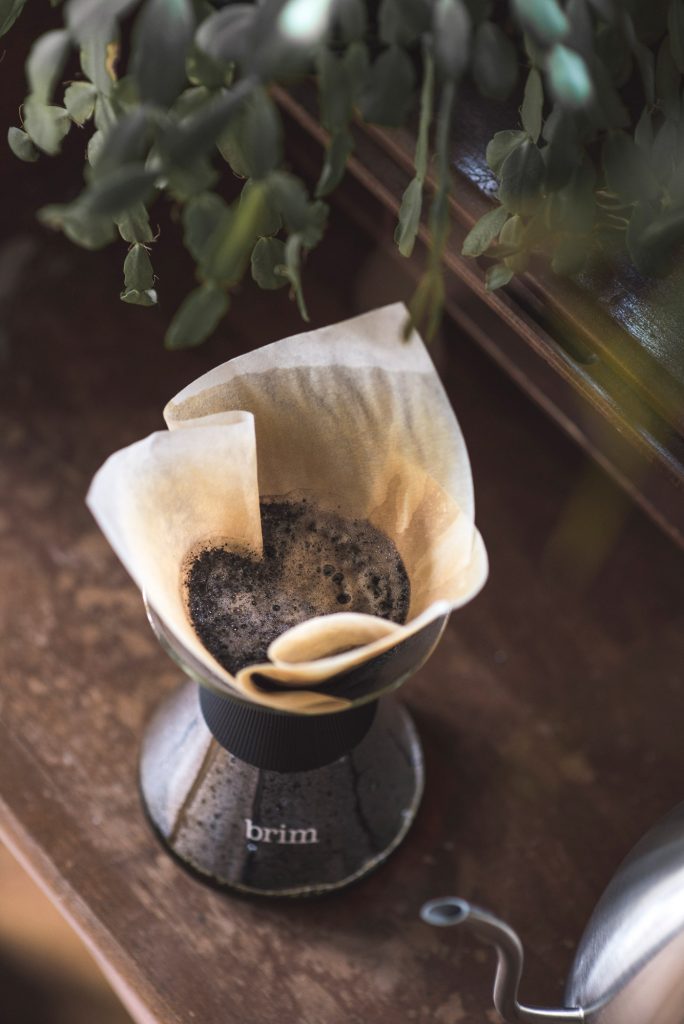
Start by placing the filter in the carafe. The paper filters will have four layers; place three to one side to create an open “pocket” shape, then generously wet the filter with boiling or near boiling water.
Brewer’s note: This process is called “pre-wetting”. In addition to removing the filter’s papery taste, it also preheats the carafe to ensure that the coffee bed (i.e. the coffee and water before it passes through the filter) holds onto as much heat as possible. The right temperature is key: too hot over-extracts the coffee and too cool risks under-extraction.
Add Coffee:
To make coffee for two (or two, 12-oz servings), use 44 grams of medium to medium-coarse ground coffee and 660 milliliters of water (between 204-206°F). This will give you a 1:15 ratio, allowing for nice sweetness and acidity, with medium strength. For a thinner body, try using 1:16 or 1:17 ratios. For a more intense cup, try a ratio of 1:14 (I wouldn’t recommend anything less though, as it tends to elicit a sour taste).
Brewer’s note: Grind size is imperative – too fine of a grind will dramatically slow the brewing, resulting in bitter or dry tasting, over-extracted coffee. The entire brewing process should take about 4-6 minutes.
Let it Bloom:
With your gooseneck kettle, start by quickly and evenly saturating the coffee. Make sure to double the weight of the coffee on your first pour (88 milliliters of water in this case). Pause and allow the initial introduction of water and coffee to de-gas. You might notice the coffee bed puff up, or “bloom”. For coffee that’s been roasted within five days or less, pause for 45 seconds to one minute.
Brewer’s note: This “bloom” is actually a quick release of carbon dioxide, which became trapped inside the beans during the roasting process. Freshly roasted beans have more trapped gas than coffee that was roasted less recently. Gas is also released as coffee is grinding, which is why brewing immediately after grinding yields the best flavor.

Pour, Pour and Pour Again:
Next, slowly pour in small, half dollar-sized circles in the middle of the coffee bed. Try to keep the grounds evenly saturated by pouring steadily – if there’s a visible separation of the bed and other grounds on the filter, the grounds are too saturated.
Brewer’s note: The goal is to maintain an even rate of flowing coffee. If you pour too quickly, the smallest particles of grounds will sink to the bottom of the bed and choke up the flow. If you let the bed dry up, the temperature will drop, and so will the extraction rate. Some coffees are denser than others – these differences in solubility result in some grounds allowing the water to pass through faster than others. Contact time (the amount of time the water is in contact with the grounds) is equally important. Some coffees taste better with more contact time, while others become bitter.
Finish the Brew:
Ideally, the brew is finished before 5 minutes, but some roasts are delicious with 6-minute brews.
Brewer’s note: Agitation affects extraction, so to slow down your brew, or extend the contact time, add pours into your recipe. You can try many small pours of water, or two or three long, continuous pours.

